Back to the Basics!
Share
Understanding the Basics
Building your first PC can feel like assembling a complicated puzzle, but with the right approach, it becomes an exciting journey rather than an overwhelming task. Many newcomers to PC building worry about damaging expensive components or making mistakes, but the process is more forgiving than you might think. Modern computer parts are designed to be user-friendly, with standardized connections and safety features that help prevent common errors. Let's break down what you need to know to start your PC building adventure with confidence.
Essential Components
Every functional PC requires these core components:
Processor (CPU): The brain of your computer that handles calculations and instructions. Popular manufacturers include Intel and AMD, each offering various performance tiers.
Motherboard: The main circuit board that connects all components. It must be compatible with your chosen CPU and have the right features for your needs.
Memory (RAM): Temporary storage that allows your computer to work with active data. For most new builds, 32GB is the sweet spot for gaming and general use.
Storage: Where all your files and programs live. Consider a combination of a smaller Solid State Drive (SSD) for your operating system and a larger Hard Disk Drive (HDD) for file storage.
Graphics Card (GPU): Handles video rendering. For gaming or graphic design, you'll want a dedicated GPU. For basic computing, integrated graphics on your CPU might suffice.
Power Supply Unit (PSU): Provides electricity to all components. Never skimp on quality here; a reliable PSU protects your entire system.
Case: Houses and protects all components while providing airflow for cooling.
CPU Cooler: Keeps your processor from overheating. Some CPUs come with stock coolers, but aftermarket options offer better performance.
Tools You'll Need
The beauty of PC building is that it requires minimal specialized tools:
Phillips-head screwdriver: The most essential tool; a #2 size works for most screws.
Anti-static wrist strap: Optional but recommended to prevent static discharge that could damage components.
Flashlight: Helpful for seeing into the darker corners of your case.
Cable ties: For organizing cables and improving airflow.
Thermal paste: Usually comes with your CPU cooler but having extra is useful.
Most component manufacturers include all necessary mounting hardware and cables, so you rarely need to purchase additional fasteners or connectors.
Setting a Realistic Budget
PC building costs vary widely based on your performance goals:
Entry-level build ($500-$700): Suitable for everyday tasks, light gaming, and basic productivity.
Mid-range build ($800-$1,200): Handles most modern games at 1080p and multitasking with ease.
High-end build ($1,300-$2,000+): Delivers premium gaming experiences at higher resolutions and faster frame rates.
Remember to factor in peripherals like monitors, keyboards, and mice if you don't already have them. Also, allocate budget for your operating system license unless you plan to use a free alternative like Linux.
When planning your budget, prioritize components that are harder to upgrade later. The CPU and motherboard form the foundation of your system and typically require more extensive disassembly to replace, while storage and RAM are relatively simple to upgrade.
Planning Your Build
Proper planning prevents poor performance. Before purchasing any components, take time to consider exactly what you need from your custom PC.
Determining Your PC's Purpose
Your intended use will dictate which components deserve the largest portion of your budget:
Gaming: Prioritize your GPU and pair it with a CPU that won't create bottlenecks. Consider faster storage for reducing game load times.
Content Creation: Video editing and 3D rendering benefit from more CPU cores and additional RAM. Consider 32GB of RAM and a processor with 8+ cores.
Office/Productivity: Focus on a balanced build with adequate RAM (16GB) and fast storage. Graphics requirements are typically minimal.
Streaming/Multi-tasking: Look for CPUs with higher core counts to handle simultaneous tasks and consider more RAM for smoother operation.
By identifying your primary use case, you can allocate your budget more effectively and avoid overspending on components that won't benefit your specific needs.
Compatibility Considerations
Ensuring all your parts work together is crucial. Here are the key compatibility points to check:
CPU and Motherboard: They must have matching sockets (like AM4 for AMD or LGA1700 for newer Intel processors).
Motherboard and RAM: Verify the motherboard supports your RAM's generation (DDR4 or DDR5) and speed.
Case and Motherboard: Motherboards come in different sizes (ATX, Micro-ATX, Mini-ITX); ensure your case accommodates your chosen form factor.
Power Supply and Components: Calculate your total power requirements and add 20% headroom for stability and future upgrades.
GPU and Case Clearance: High-end graphics cards can be very large; confirm your case has sufficient space.
Online tools like PCPartPicker.com can automatically check compatibility between components, making this process much simpler for first-time builders.
Where to Buy Components
When purchasing components, you have several options:
Online retailers: Websites like Amazon, Newegg, and B&H Photo offer wide selections and competitive pricing. They often provide detailed specifications and customer reviews to help inform your decisions.
Computer specialty stores: Retailers like Micro Center or Canada Computers offer the advantage of knowledgeable staff who can provide personalized recommendations.
Second-hand markets: While you can find deals on platforms like eBay or r/hardwareswap, proceed with caution when buying used components, particularly CPUs, motherboards, and power supplies.
Consider buying components over time when you spot good deals, but be aware that waiting too long between purchases could mean missing return windows if compatibility issues arise.
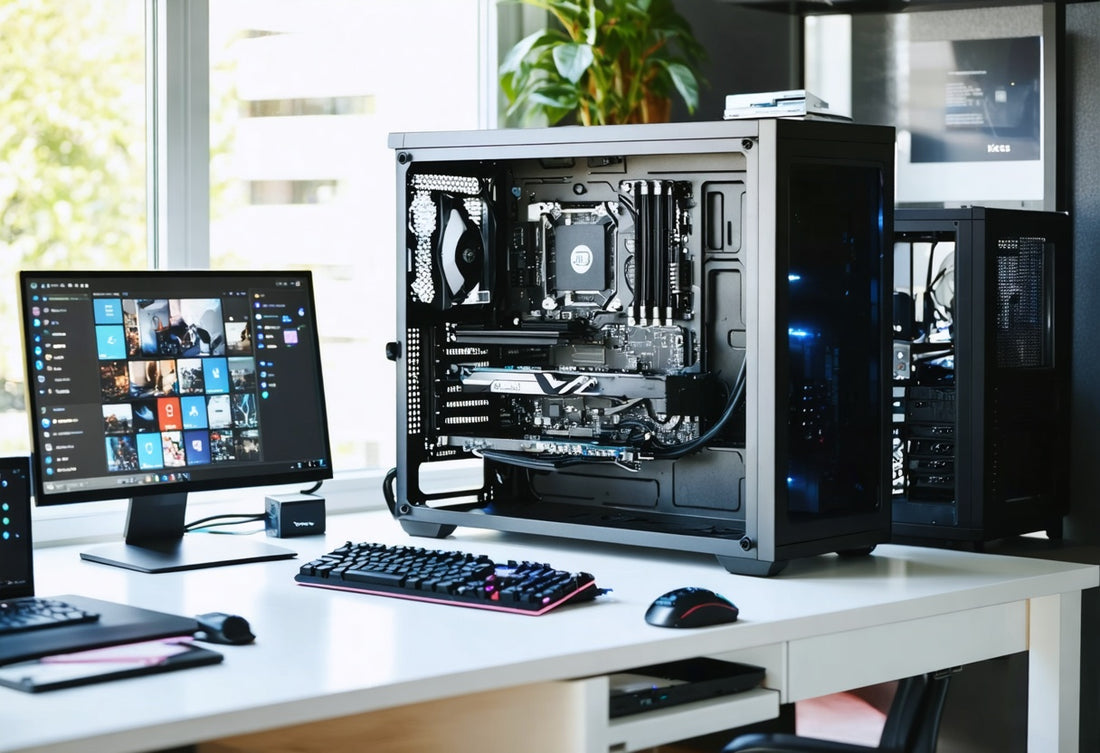
Step-by-Step Assembly Guide
With all your components gathered, it's time for the exciting part: assembly. Take your time and follow these steps carefully.
Workspace Preparation
Start with a clean, well-lit workspace with plenty of room. A large table or desk works perfectly. Avoid carpeted areas which can generate static electricity. Unbox your components carefully, keeping screws and small parts organized in bowls or containers.
Before touching any components, ground yourself by touching a metal object or wearing an anti-static wrist strap connected to a grounded metal object. This discharges any static electricity that could damage sensitive electronics.
Keep component manuals handy; they contain specific instructions that might differ from general guides. Have a tablet or phone ready to watch tutorial videos if you encounter challenges during the build process.
Installation Order
While there's some flexibility in assembly order, this sequence works well for most builds:
Prepare the case: Remove side panels and organize included screws and accessories.
Install the power supply: Mount it in its designated location, usually at the bottom or top of the case.
Prepare the motherboard: Install the CPU, CPU cooler, and RAM while the motherboard is outside the case. This provides better access and visibility.
Install the motherboard: Place it on the standoffs in the case and secure it with screws.
Connect power cables: Attach the main motherboard power connector and CPU power connector.
Install storage drives: Mount SSDs and HDDs in their appropriate locations.
Install the graphics card: Insert it into the appropriate PCIe slot and secure it to the case.
Connect all remaining cables: This includes front panel connectors, SATA cables for storage, and any additional power cables for components.
Organize cables: Route cables neatly to improve airflow and aesthetics.
Double-check connections: Verify all components are properly seated and all necessary power connections are made.
Take your time with each step. If something doesn't seem to fit, don't force it; components are designed to connect easily when properly aligned.
Cable Management Tips
Good cable management isn't just about aesthetics; it improves airflow and makes future maintenance easier:
Plan your routing: Before connecting cables, visualize their paths through the case.